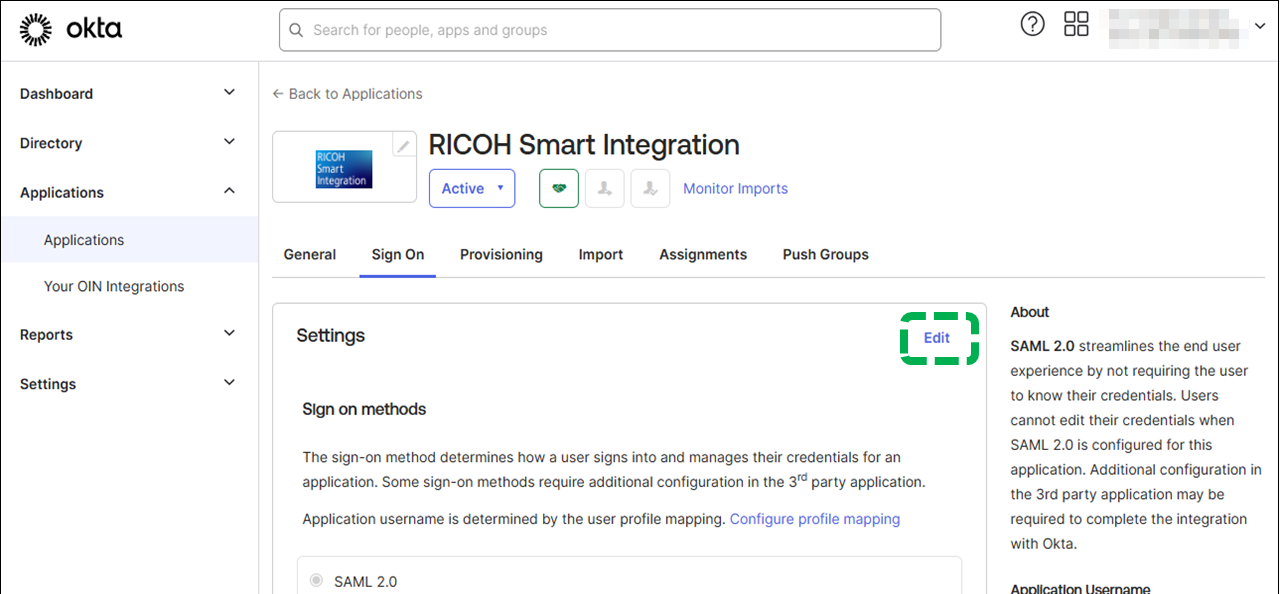
1. Configuring the Provisioning for the Created Application

Open the "Sign on" tab, and then click [Edit] for [App
Settings].

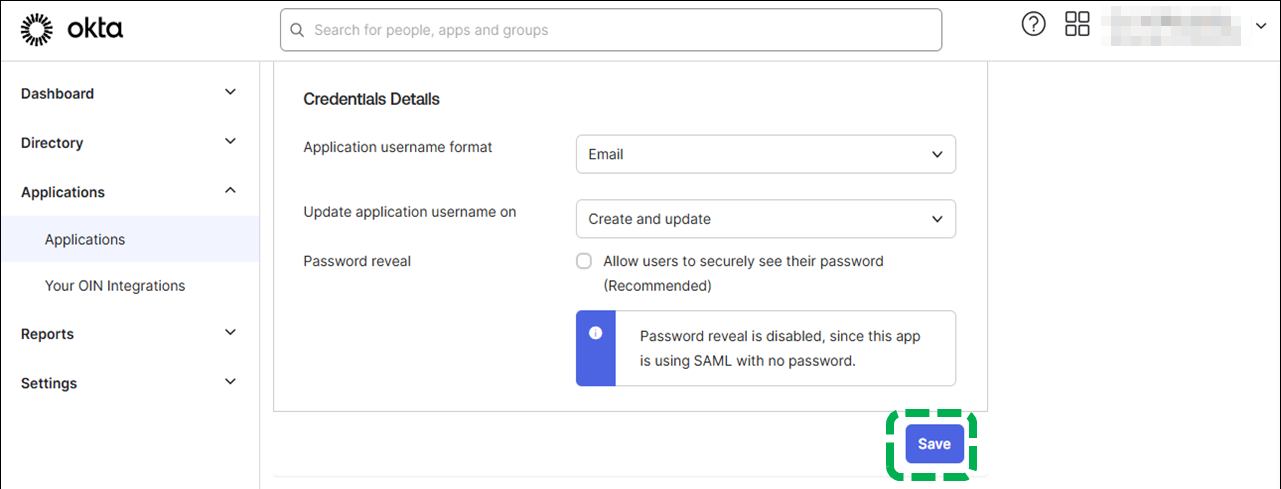
Enter the items in "Credentials Details" as shown in
the following table:
| Item name |
Value to be specified |
| Application username format |
Email |
| Update application username on |
Create and Update |


Click [Save].

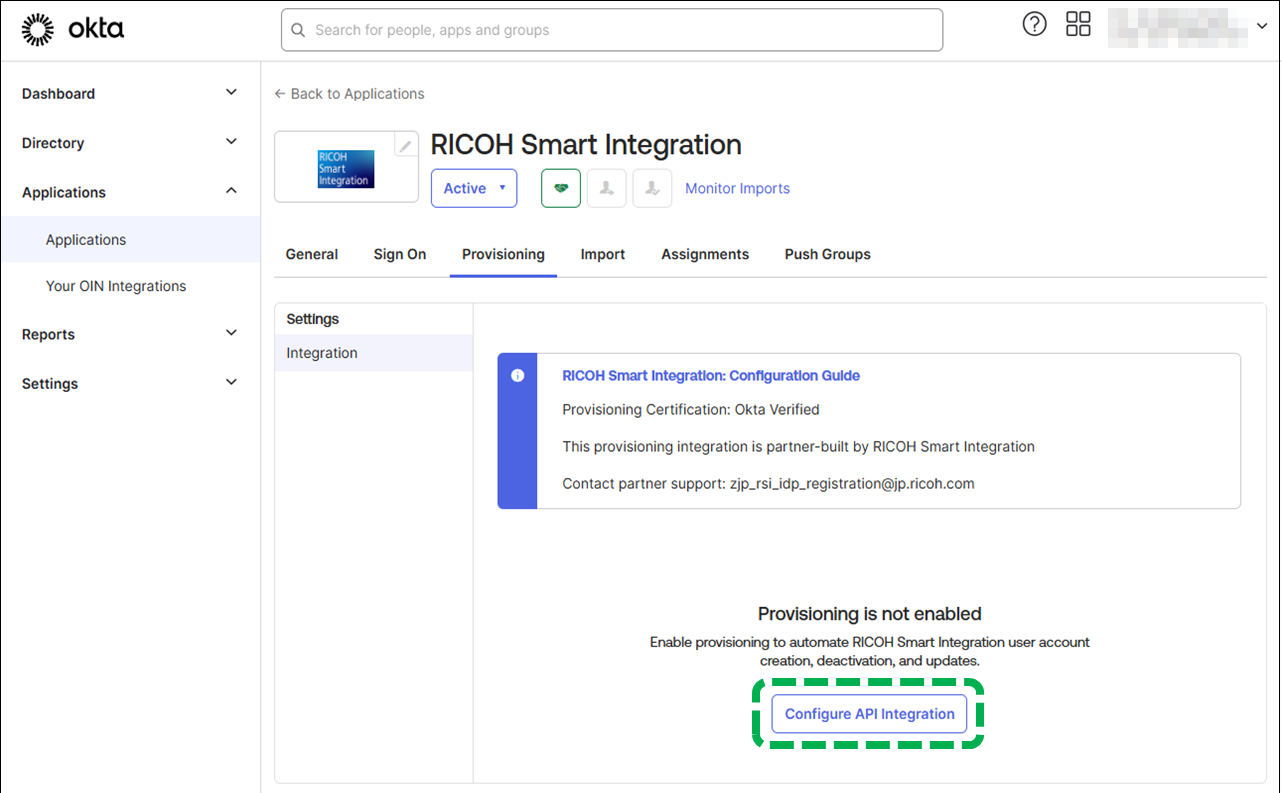
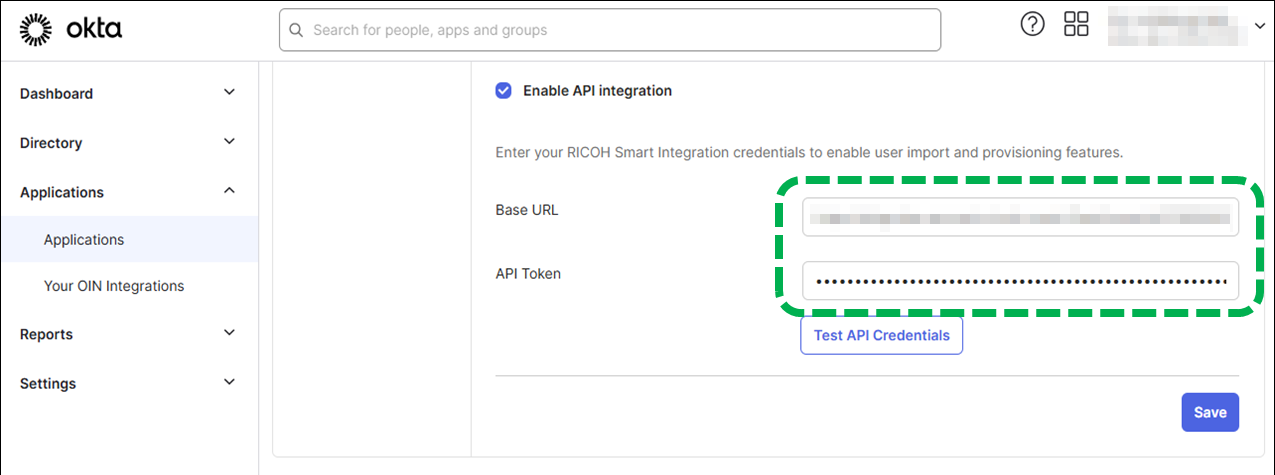
Open the [Provisioning] tab, and then click [Configure
API Integration].

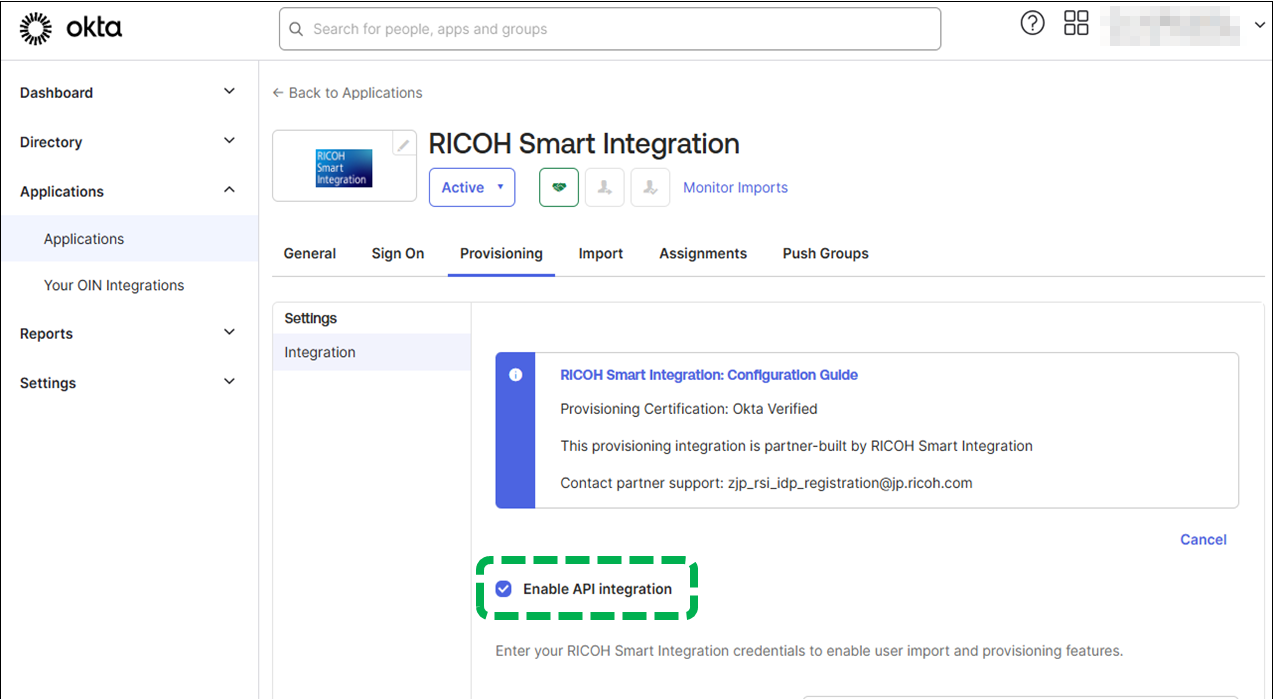
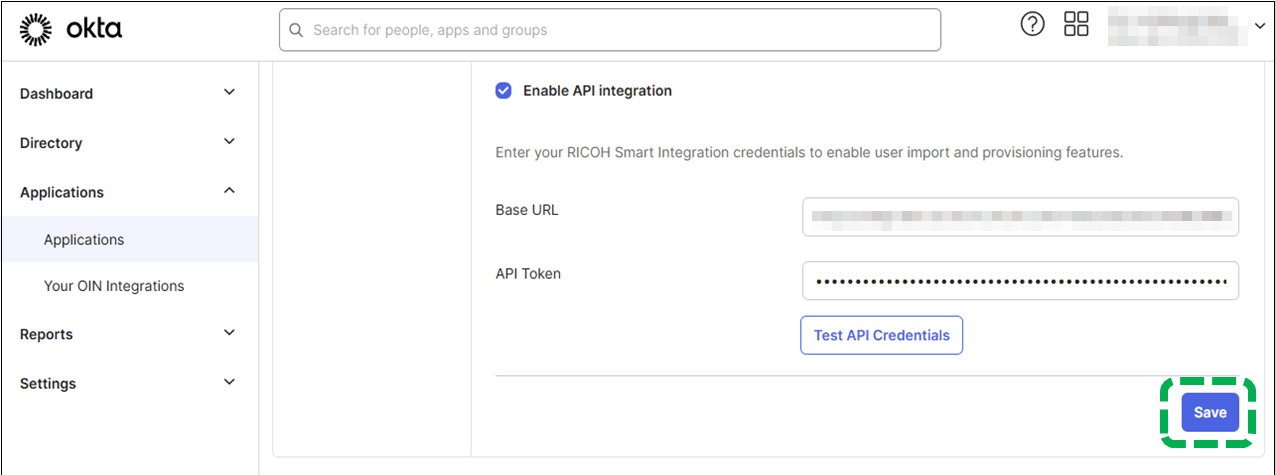
Check "Enable API Integration".

On a different screen of your web browser, log in to
this site with the administrator account.

From the top page of Admin Mode, access [User
Management].

Click

, the Menu button, then select [Synchronizing IDs]

.[Okta Automatic Synchronization]

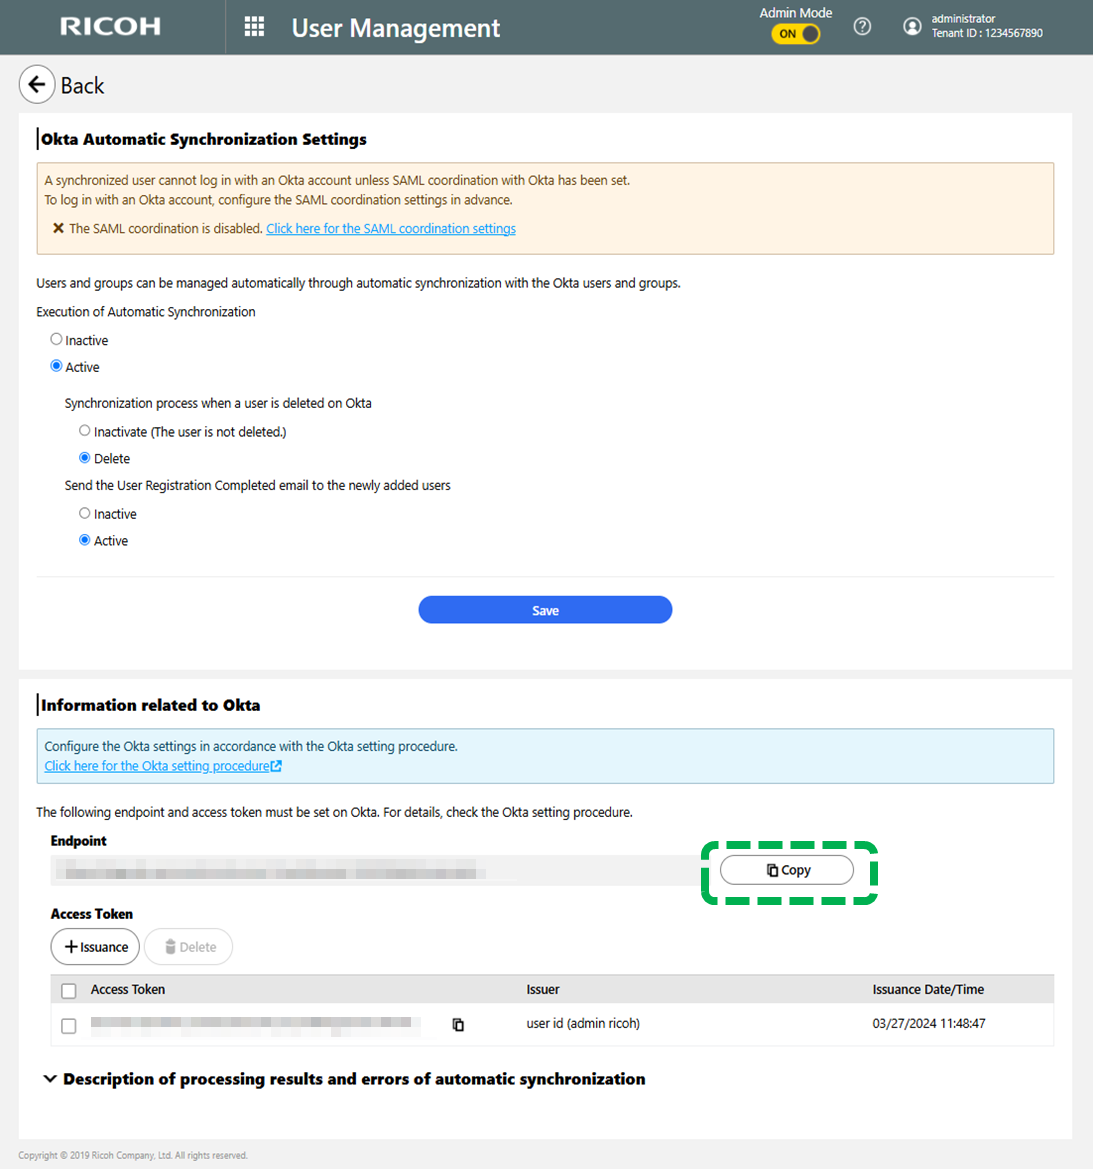
In "Information related to Okta", click [Copy] for
"Endpoint" (Base URL).

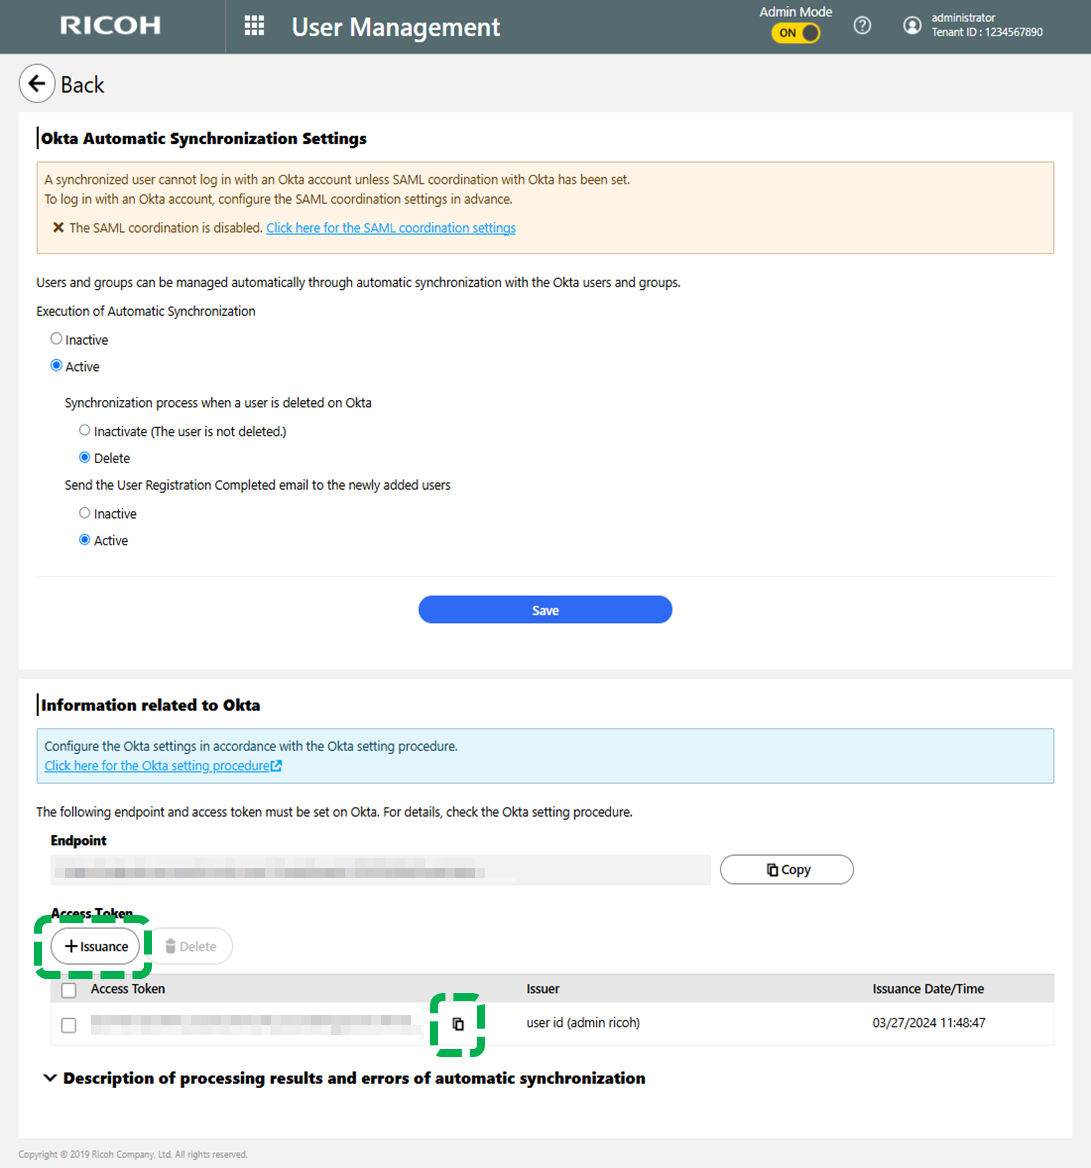
Click [Issuance] in "Access Token" (API Token), and
then click the copy button for the issued token.

Return to the Okta screen, and then paste the content
of "Base URL" (Endpoint) and "API Token" (Access Token) that you have copied.

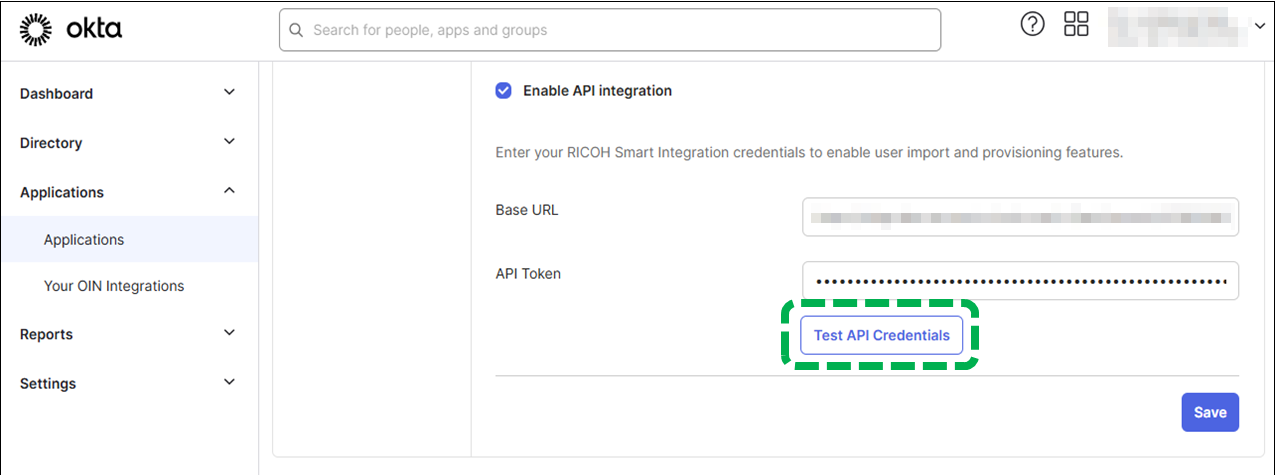
Click [Test API Credentials] to test the connection.

Click [Save].

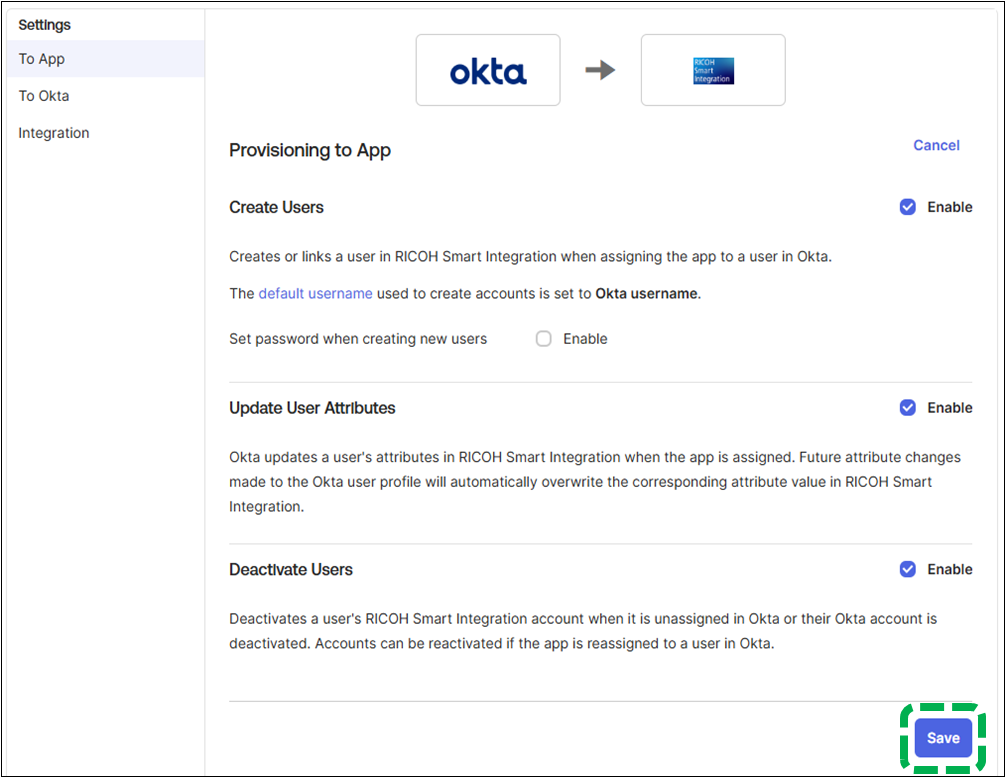
On the [Provisioning] tab, click [To App], and then
click [Edit].

Select the "Enable" checkbox for provisioning actions
that are supported.
- Create Users
- Update User Attributes
- Deactivate Users


Click [Save].